Visits File Upload
Files can be uploaded against a visit in Maytas. To do this, a field must be added to a visits tab which will be used to store the filename:
- Go to Tools on the toolbar and click New / Load on the Screens panel of the ribbon.
- Select Visit on the left, then add or edit a tab.
- Go to the Fields tab at the bottom left of the Screen Designer.
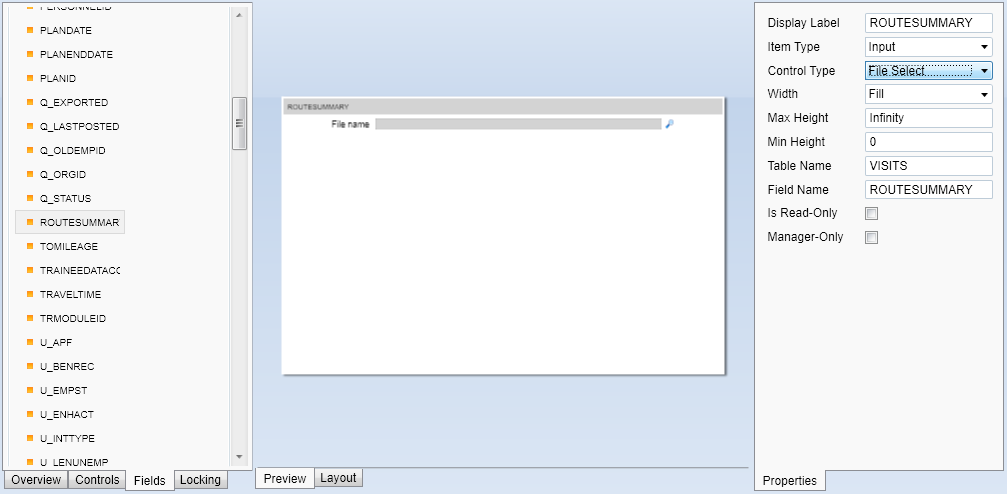
- Drag a field into the design area from the Visit table. This should be a varchar field long enough to store the filename of any files being uploaded to a visit. It should also be a field that is not otherwise used, as any data in it will be overwritten with the filenames of uploaded files.
-
Select the field in the design area (the middle of the screen) and change the Control Type on the right to File Select.

- Edit the rest of the tab as required and click Apply.
- Go to Home on the toolbar and click Sync.
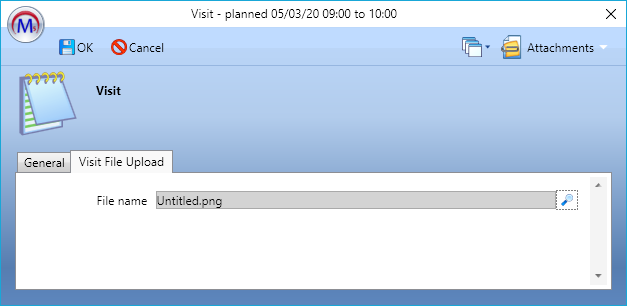
- Open or create a visit in a learner, assessor or employer diary and go to the tab with the file select on it.
-
Click the
 button, browse to and select a file to upload and click Open.
- Click OK. The file will now be uploaded to the file store and the name of the file will be recorded in the field used in the Screen Designer.