Employer Editor
The employer editor lets you add, edit or delete employer records. To access the editor, go to Employer Editor on the toolbar.
To add an employer:
- Click Add employer.
- Complete the employer details and contact details.
- If you wish to create a Maytas Hub login for the employer:
- Ensure that the employer has an employer name and email address entered.
- Click the User tab.
- Click No Maytas Hub user.
- Amend the user name and set permissions as required.
- Click Save.
- To assign trainees to the employer:
- Click the Trainees tab.
- Click Add trainee.
- Click the magnifying glass button next to the Trainee field.
- Search for and select a trainee.
- Select the type of employment and enter the employment start date (you can also optionally enter an end date).
- Click Save.
To edit an employer:
- Click Search.
- Enter the search terms for the employer and click Find (if you wish to include employers with an obsolete date, tick the Include Obsolete box).
- Select the employer from the results.
- Amend the details as required and click Save.
To delete an employer:
- Search for and open an employer record.
- Click Actions at the top-right and select Delete Employer.
- Click Confirm to confirm deletion.
Employer Contacts
Contacts can be entered against an employer, and a learner can then be assigned one of those contacts as their key contact for the employer. Whenever a data collection form is assigned to an employer to complete on behalf of a learner, the form will be sent to the learner's key contact for completion. If a learner does not have a key contact specified, the form will be sent to the employer user instead.
To publish the Employer Contacts tab from Maytas:
- Go to Tools on the toolbar and click New / Load on the Screens panel of the ribbon.
- Select Employer on the left and double-click Employer Contacts on the right.
- Tick the Published box on the left. Also tick the Employer box.
- Click Apply.
- Go to Home on the toolbar and click Sync.
To view the tab in Maytas Hub:
- Select Employer Editor on the sidebar.
- Search for and open an employer record.
- Go to the Employer Contacts tab.
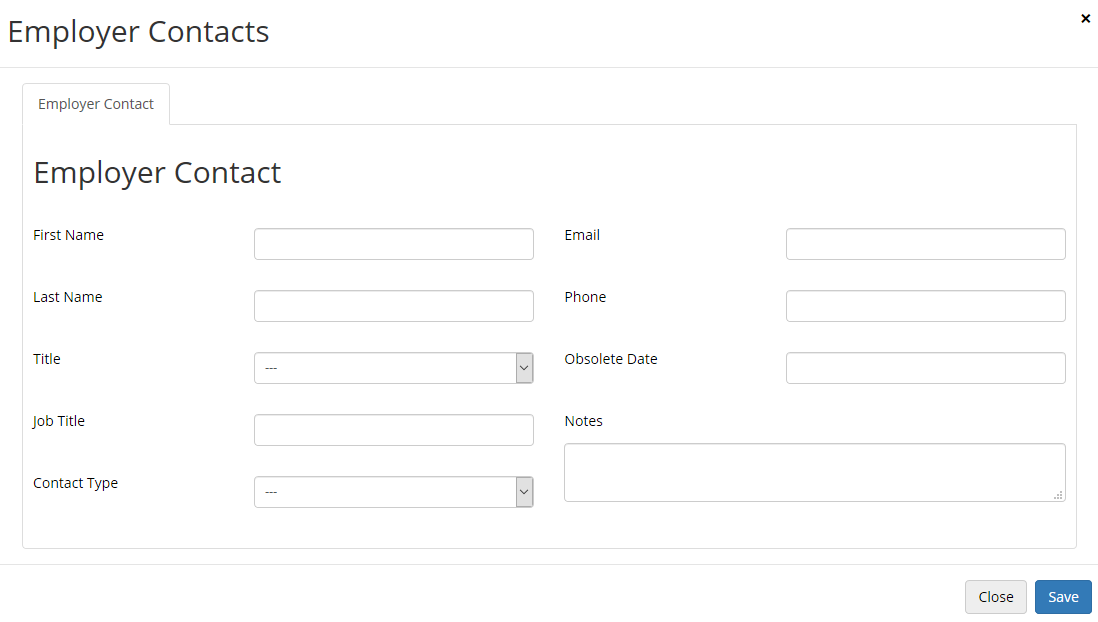
Click the Add Row button to add a new contact.

Complete the details as required and click Save to return to the contacts tab. Click Save again to commit the changes to the database. Repeat as required to add additional contacts.

Once contacts have been set up for an employer, a learner at that employer can be assigned a key contact:
- Open a learner record and go to the Summary tab.
- Click View Details and click Edit next to Employer Details.
- Select the employer row you wish to assign a key contact for.
-
Select a contact from the Key Contact dropdown box.

- Click Save.
Employer Contacts at Branch Level
A configuration option is available which allows employer contacts to be set at branch level as well as at parent employers. Additionally, the key contact for a branch can be set to a contact at the parent employer.
To set the config:
- Go to Settings on the sidebar.
- Click the System configuration button.
- Go to Employer Login on the left (under the Maytas Hub Online header).
- In the General section, tick the box for the Allow parent employer contacts at branches setting on the right and ensure the toggle button is set to ON.
- Click Save.