Tasks
User-specific tasks can now be created. A permission must first be set for this:
- Go to Web User Editor on the toolbar.
- Search for and select a web user.
- Click Permissions.
- Tick Allow Task Administration.
- Click Save.
To create a task:
- Go to Tasks on the toolbar.
- Click New Task.
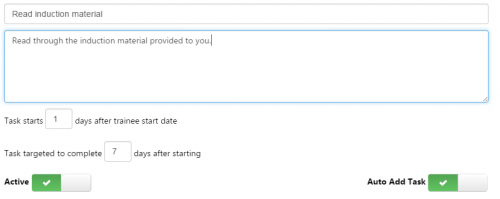
- Enter a title and description for the task.
- Enter the number of days after the trainee start date that the task should start.
- Enter the number of days after the task has started that the task is targeted to be completed.
- When you are ready to make the task available, click Active so it is ticked.
-
If you wish the task to be automatically added to trainees on associated objectives, click Auto Add Task so it is ticked (see the following steps for associating templates).
If the learner already has the objectives added, the task will not be automatically added to the Current Tasks tab but is made available on the Manage Tasks tab (see below).
- Click Save Task.
- Click the Associated Templates tab. Here you can associate templates with the task.
- Click the Templates button.
- Search for and select the templates you wish to associate with the task.
- Click Add Selection.
- Click Save Task.
To manage tasks assigned to a trainee:
- Go to Browse Trainees on the toolbar.
- Select a learner and click Manage Tasks.
-
Select the Manage Tasks tab.
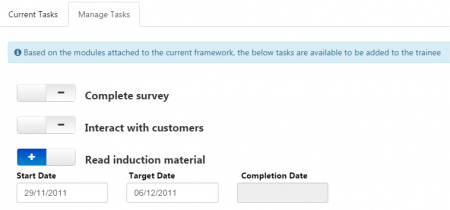
- You will see a list of all tasks associated with the trainee’s objectives. Tasks which are associated with objectives that the trainee is not taking are not shown. To manually assign a task to the trainee, click the toggle button next to the task so it shows
 . You can then modify the start and target dates as required.
 - Click Save.
- On the Current Tasks tab, you can now see a list of all tasks associated with the trainee, along with the completion date for each one.
Tasks can be set to completed by an assessor when editing a visit:
- Open a trainee record and go to the Visits tab.
- Add or open a visit.
- If the trainee has any tasks assigned to them, the Tasks tab will be available. Go to the Tasks tab.
- To set a task to complete, select it and click Select file(s).
- Click Select file, browse to and select the file and click Open.
- Click Upload.
- Click Complete.
Evidence Criteria Applied via Tasks Across Multiple Modules
When a task associated with multiple modules (each with evidence criteria) is completed for a learner, the criteria from each of the modules will be applied to the learner.
To set up a task that can apply criteria across multiple modules, module templates must first be created (if you do not already have them for the relevant modules):
- Go to Browse Modules on the sidebar.
- Search for the required module and click it in the search results.
- Go to the Templates tab.
- Click the Add New Template button.
- Enter a name and description for the template and tick the Active box.
-
Tick the objectives and criteria you wish to include in the template.
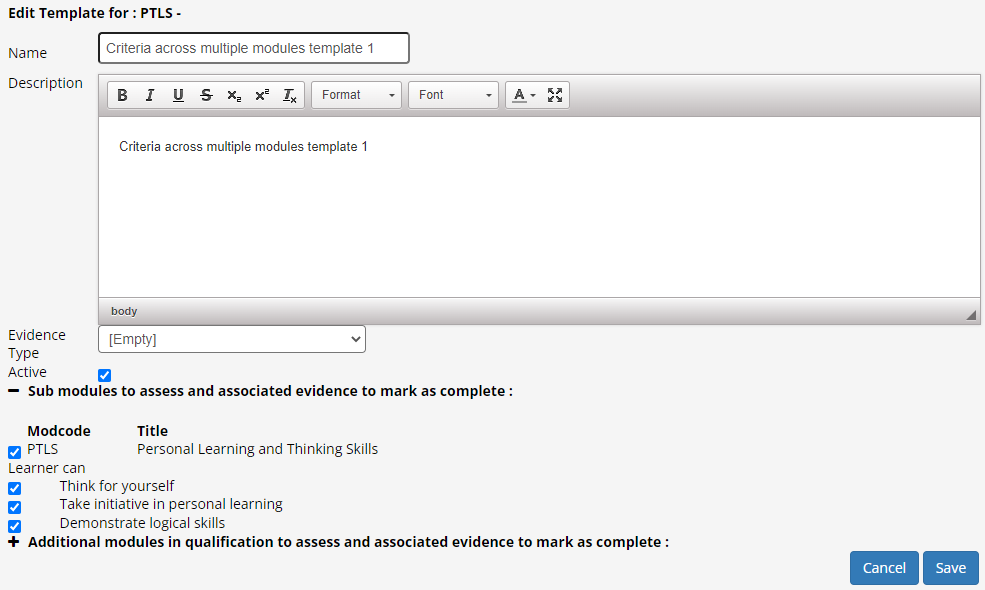
- Click Save.
- Repeat the above steps for additional modules that you wish to add templates for.
Once you have templates set up, a task must be created which will use the templates:
- Go to Tasks on the sidebar.
- Click the New Task button.
-
Enter a title and description and set the Active toggle button to a tick.
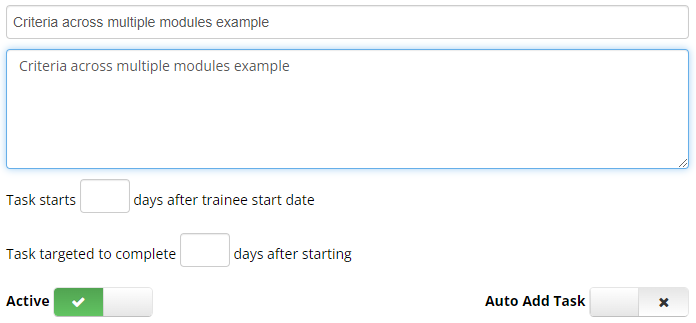
- Set any other options as required and click Save.
- Go to the Associated Templates tab.
- Click the Templates button.
-
For each template created above that you wish to include, search for the template and tick the box to the left of it to select it, then click the Add Selection button.
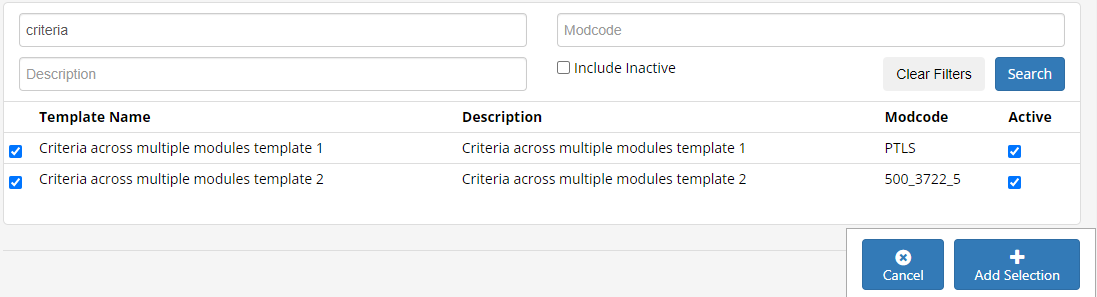
- Once all required templates have been added, click the Save Task button.
Finally, the task can be applied to a learner:
- Open the learner record and click the Manage Tasks button on the Summary screen.
-
Go to the Manage Tasks tab. The newly-created task should be visible if the learner has corresponding modules associated with them.
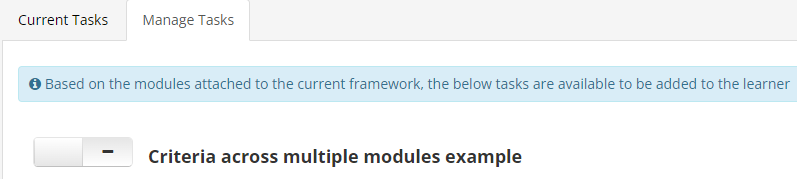
-
Click the toggle button next to the task to enable it and set the start and target dates as required.

- Click Save.
- To complete the task and complete the criteria on it for the learner's objectives, create a visit for the learner and go to the Tasks tab in the visit planner.
-
Select the task (the circle should change to a tick), select the evidence files and click the Complete button.

-
The evidence will now be completed on all applicable modules.

Partial Completion of Tasks
When a learner submits a file against a task through the Evidence Wizard, their assessor has the option to mark the task as partially complete. This sets the task to incomplete, but any evidence mappings accepted by the assessor are retained. The learner is then able to re-submit new evidence for the task.
This feature must first be enabled via a configuration option:
-
In Maytas Hub, go to Settings on the sidebar.
-
Click the System configuration button.
-
Go to Assessor Login on the left (under the Maytas Hub Online header).
-
Locate the Trainee section on the right.
-
Tick the box for the Allow partial completion of Trainee tasks option and ensure the toggle button is set to ON.
-
Click Save.
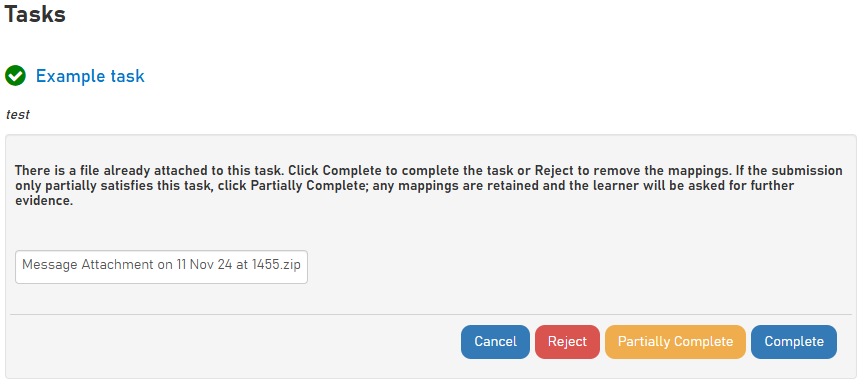
When an assessor evaluates evidence in a visit that a learner has submitted against a task (via the Tasks screen on the visit), the Partially Complete button will appear when the config is enabled.
When the Partially Complete button is clicked, the assessor will be prompted to enter notes.
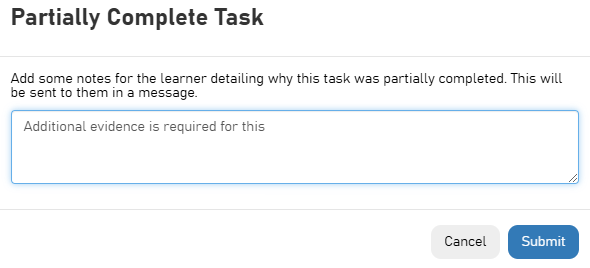
Click Submit to update the task status to partially complete.
The learner can then re-submit new or additional evidence against the task, which can be reviewed by the assessor in a visit. The visit Tasks tab will indicate how many previous evidence submissions there have been against the task.

The assessor can partially complete a task as many times as is required until they are satisfied that the evidence is suitable for the criteria.
-