Maytas Hub Release Notes
Technical specification
The latest Maytas and Maytas Hub technical specification can be found here.
Maytas Hub Release Notes – Version 5.26.8620.3
New Learner Homepage
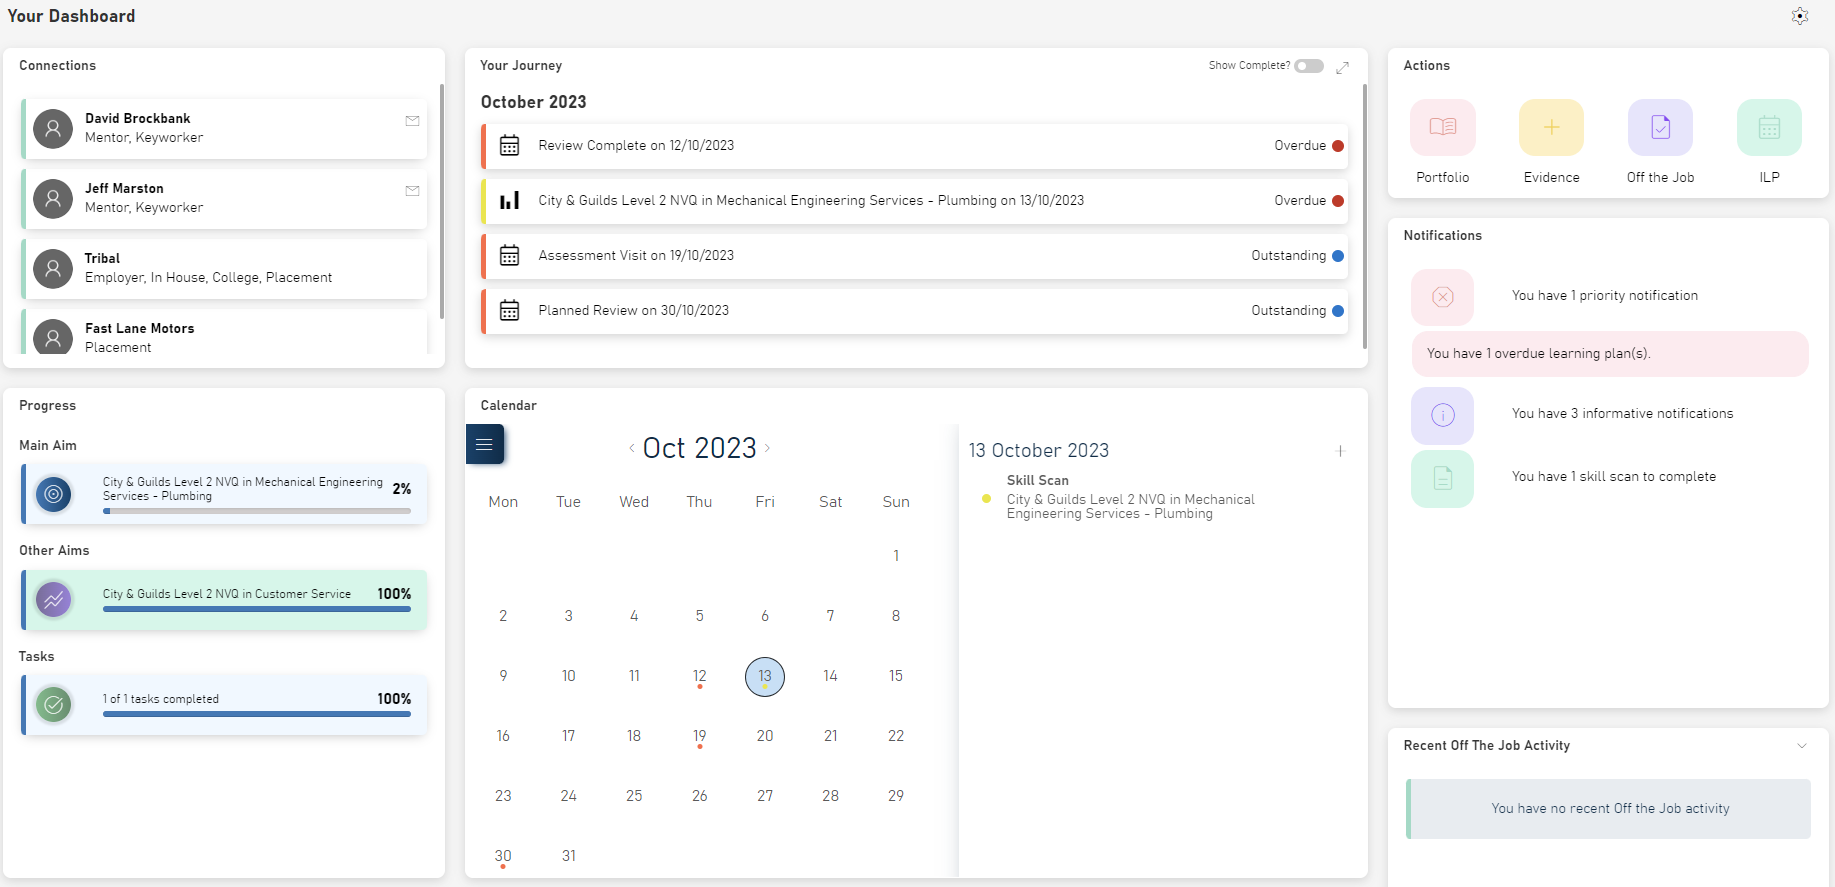
The Learner login homepage has been overhauled in a similar way to the assessor homepage. The new screen consists of numerous widgets, each showing a particular overview of data, which can be rearranged or removed so that the screen best suits the needs of each individual user.
Permissions
Each of the dashboard widgets on the new learner homepage can be configured so that they are always shown or hidden for a learner:
-
Go to Web User Editor on the sidebar.
-
Search for and open the learner user or group that requires permission.
-
Click Dashboard Widgets to expand that section.
-
A list of all the widgets will be shown, each with three options
-
Default - Allows the learner to show / hide the widget as per their preference.
-
Always On - The learner will not be able to remove the widget.
-
Always Off - The learner will not have access to the widget.
-
-
Set each permission as required and click Save.
Rearranging, removing and restoring widgets
To make any changes to the layout of the learner homepage, click the  button at the top right. Each widget can then be changed as follows:
- To move a widget, click and drag any part of it to the desired position. Other widgets will automatically rearrange accordingly.
- To remove a widget, click the X at the top-right of the widget. It will then be greyed out, indicating it will not appear on the homepage.
- To restore a widget, click the + at the top-right of the widget.
After making any changes, click Save at the top-right of the screen to save them, or click Close to revert to the previous layout (note that this may require the screen to be refreshed). You can also click Reset to restore the default layout.
Connections widget
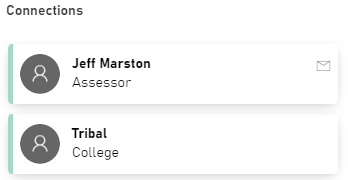
The Connections widget shows any assessors and employers that the learner is currently associated with (live records only), including the type of association (e.g. assessor, tutor, etc).
If an assessor has an associated web user account, the  button can be clicked to message the assessor.
Unread Messages widget
The Unread Messages widget shows all unread messages where the learner is a recipient. Clicking the  button will open the message in the Messages screen, whereas the
  button allows you to reply via the Messages screen.
The  icon indicates that a message has an attachment.
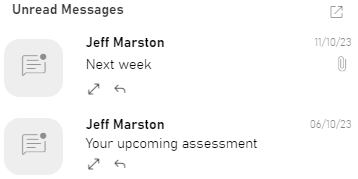
Clicking a message will show the body text without opening the Messages screen.
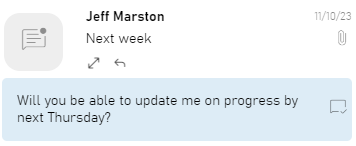
Clicking the icon at the end of the body will add a blue dot  to indicate it has been read, and it will then no longer appear in the widget after a refresh. Clicking the icon again before refreshing will set it back to unread.
Calendar widget
The Calendar widget shows key events and notes for each day, including due Skill Scans and upcoming Learner Journey events. Selecting a date lists the activities for that day on the right, and each item can be clicked to go to the relevant page (e.g. the visits screen).
You can quickly move from month to month using the arrow buttons on either side of the month and year, or you can navigate to dates further away by clicking the  button and selecting the required month.
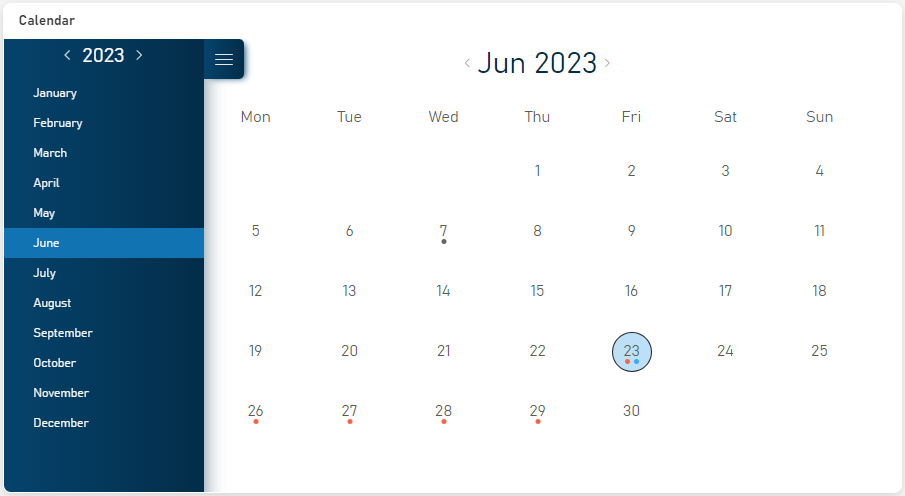
Notes can be added to a date by selecting the date and clicking the + button at the top-right of the widget.
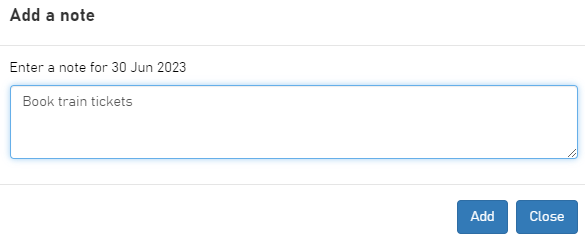
Enter the note text and click the Add button. The note will then be displayed against the date.

There are three buttons under the note:
-
 Completes the note, which changes the coloured dot from blue (outstanding) to gray (completed).
 -
 Allows you edit the note.
 -
 Deletes the note (click OK to confirm).
Visits widget
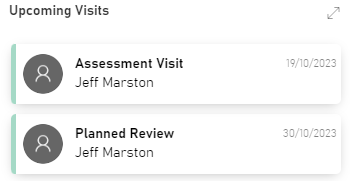
The Visits widget lists upcoming visits. Clicking a visit will show the details of that visit, whereas clicking the  button at the top right will open a screen listing all a learner's visits.
Journey widget
The Journey widget shows events from the Learner Journey. Clicking an item will open it in the Learner Journey screen, whereas clicking the  button will simply open the Learner Journey screen.
You can also click the Show Complete toggle button to include completed events, rather than only outstanding events.

Actions widget
The Actions widget has the following quick links:
-
Portfolio - Opens the learner's portfolio of evidence files
-
Evidence - Opens the evidence wizard for submitting new evidence files
-
Off the Job - Opens the Off the Job Training screen
-
ILP - Opens the learner's individual learning plan

Mappings Coverage widget
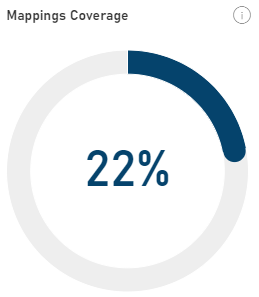
The Mappings Coverage widget shows the proportion of objectives criteria with evidence attached out of the total number of criteria.
Note that evidence counted here may not have been assessed.
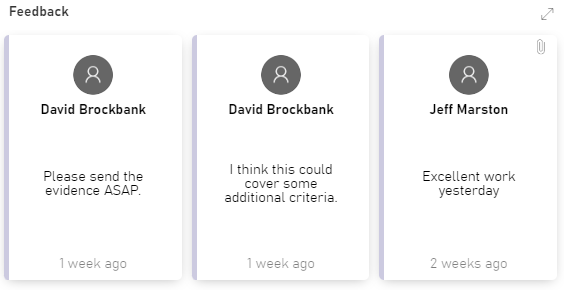
Feedback widget
The Feedback widget shows recent assessor feedback on visits. Clicking a comment will show its full details, whereas clicking the  button will show all the learner's feedback. If a comment has an attachment, the
  button can be clicked to download the file.
Recent Off the Job Activity widget
The OTJ Activity widget shows a chart of recorded OTJ activity by month. The  button opens options to Add New OTJ, which opens a dialogue to enter new activity, or View Current OTJ, which opens the Off the Job Training screen.
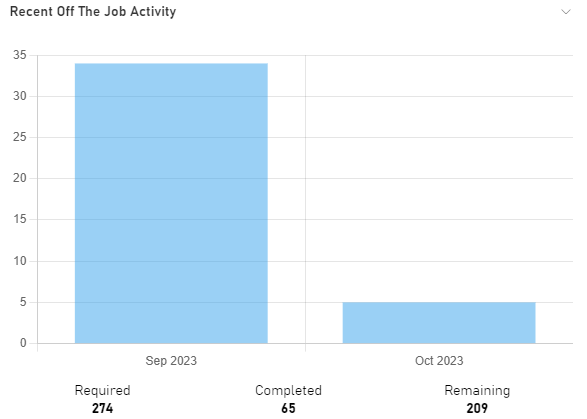
Note that the required / completed / remaining figures at the bottom are an overall summary for all months, not just the months shown in the chart. Additionally, if a learner has hours recorded across multiple unrelated POTs, this may cause a disparity between the figures at the bottom and the figures in the chart.
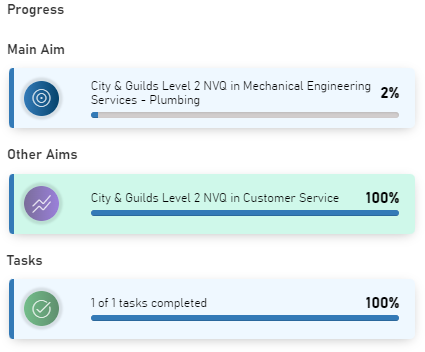
Progress widget
The Progress widget summarises a learner's overall progress towards their main aim, other aims and assigned tasks.
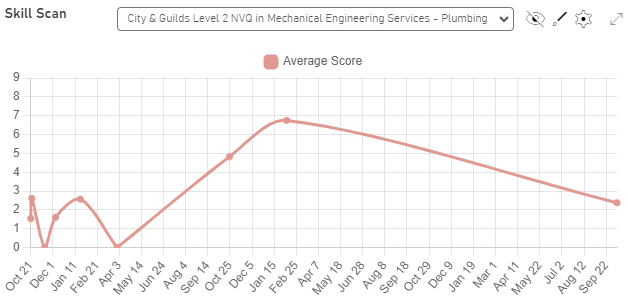
Skill Scan widget
The Skill Scan widget shows a chart of the learner's average Skill Scan score over time. This works similarly to the chart on the Skill Scan screen (see here for details).
Notifications widget
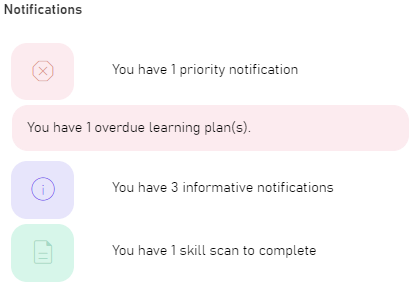
The Notifications widget shows a summary of important information relating to the learner.
Notifications are grouped by the following categories:
- Red - Priority notifications requiring urgent action
- Yellow - Warning notifications requiring action
- Purple - Informative notifications
- Green - Data collection form and Skill Scan notifications
Clicking on a notification summary (e.g. You have 3 informative notifications in the image above) will show the individual notifications within that group.
Clicking on a notification will show further details or go to the relevant area of the system.
Evidence Submission Email
A configuration option is available which allows an email (rather than an internal message) to be sent to an assessor when one of their learners submits evidence. To enable this:
- In Maytas Hub, go to Settings on the sidebar.
- Click the System configuration button.
- Go to Learner Login on the left (under the Maytas Hub Online header).
- Locate the Evidence Wizard section on the right.
- Tick the box for the Send email to assessor on evidence submission option and ensure the toggle button is set to ON.
-
By default, the email body will read as follows:
[TRAINEE] has submitted new evidence. Please log in to Maytas Hub to view and assess the submission.
If you wish to replace this with your own text, tick the box for the Email body for evidence submission option and enter the text you wish to include for the email body. You can include the {{firstname}} and {{lastname}} tags to display the assessor's name in the body.
- Click Save.
Employer Contacts - Email Sync
When an employer contact's email address is updated, this can now automatically update their web user account with the new email address. A configuration option must be set to enable this:
- In Maytas Hub, go to Settings on the sidebar.
- Click the System configuration button.
- Go to Employer Login on the left (under the Maytas Hub Online header).
- Locate the Account Emails section on the right.
- Tick the box for the Sync web user email address for Key Contacts option and ensure the toggle button is set to ON.
- Click Save.
Full Names on Messages
On the Messages screen, the first name and last name of users is now displayed (where available) for the sender on the Inbox and Trash pages.
