Maytas Hub Release Notes
 View contents
Technical specification
The latest Maytas and Maytas Hub technical specification can be found here.
Maytas Hub Release Notes – Version 5.31.9510.1
Break in Learning System
Maytas Hub has a new system which allows learners to request a break in learning and assessors to review their requests.
Configuration
There are several configuration options which must first be set:
-
Go to Settings on the sidebar.
-
Click the System Configuration button.
-
Go to Learner Login on the left (under the Maytas Hub Online header).
-
Locate the Break in Learning section on the right. The options are as follows:
Configuration option Purpose Instructions Admin email address for completed Break in Learning requests An email will be sent to this address once an assessor has completed a BIL request Enter the required email address TRASSESSOR link types to receive Break in Learning requests These are the learner-assessor link types that will receive BIL requests from their caseloads Select the required types. If a learner does not have an assessor of any of the specified types, or if the config option is not entered, their most recently-linked assessor will be used as the default recipient. Additional email recipients for Break in Learning requests These are any additional email addresses that will receive BIL requests from learners Enter the required email addresses. Multiple addresses should be semicolon-separated - e.g. user1@tribalgroup.com;user2@tribalgroup.com URL link to the Break in Learning Policy If you have a BIL policy, this can be used to link learners to the policy before they submit a request Enter the URL for the policy (this should include http:// or https:// ) Allow learners to request a Break in Learning This includes the BIL button on the learner dashboard Set the toggle button to ON -
A pre-existing config option also needs updating to enable the break in learning visit type, so that the type can be automatically populated when an assessor responds to a BIL request.
Go to Assessor Login on the left (under the Maytas Hub Online header).
-
Locate the Visits section on the right.
-
Locate the Selectable visit types by Assessor Logins option and ensure Break in Learning Request is ticked.
-
Click Save.
Submitting a Break in Learning Request
Learners can submit a BIL request as follows:
-
Go to the Learner Dashboard (the home screen).
-
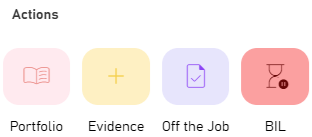
Click the BIL button on the Actions panel.
-
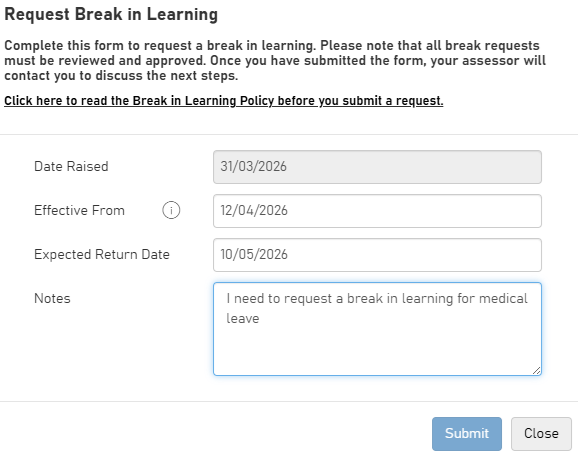
The Request Break in Learning window will appear. If you have configured the URL to a BIL policy, a link will be shown that can display the policy to the learner and the learner will not be able to click the Submit button until they have clicked the link.
-
Enter the Effective From date, the Expected Return Date and any notes, then click Submit.
Date Raised is not editable and is fixed as the current date. The Effective From date should be the last evidenced learning date. It will be pre-filled with the date of the learner's last off-the-job training entry, but can be amended if required. There is an informational icon next to Effective From that explains this to the learner when the mouse is hovered over it.
-
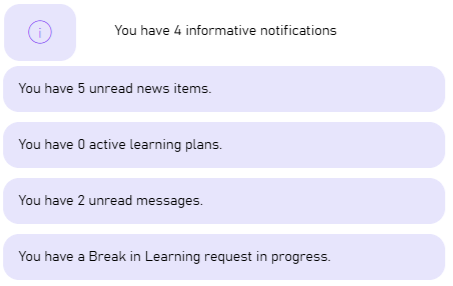
Once the request has been submitted, the learner's assessor and any other configured recipients will receive a message with the details of the request. Additionally, the BIL button will disappear from the learner's dashboard as they may only have one active BIL request at a time, and the notification panel will inform them that they have a BIL request in progress.
Responding to a Break in Learning Request
When a learner submits a BIL request, their assessor will be informed of this on the Notifications panel of their dashboard. They will also receive an email and a message including the learner's notes on the Messages screen.
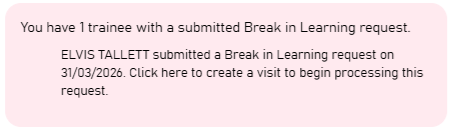
Any additional recipients that have been configured will receive an email notification but not a message in Hub.
-
Click the notification. This will open a prompt to create a visit to discuss the request.
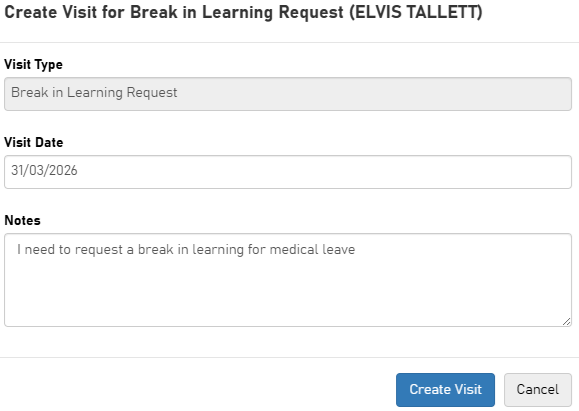
If you have not enabled the Break in Learning Request visit type as per the Configuration instructions, you will see an error that the visit type must be specified.
-
Amend the Visit Date as required and click Create Visit.
-
This will open the Visits screen, with the required details pre-populated. Click Save.
The assessor and the learner can then discuss the break in learning at the visit and decide how to proceed.
When the visit has been completed, if the visit outcome is set to Successful, then the BIL request is considered completed. Note that this does not change the learner's actual end date or completion status to put them on a break in learning - this must be done manually.
The visit outcome types which are considered to be a successful outcome can be configured as follows (or if no types are set, the default short string of S will be used):
-
Go to Settings on the sidebar.
-
Click the System Configuration button.
-
Go to Assessor Login on the left (under the Maytas Hub Online header).
-
Locate the Visits section on the right.
-
Tick the box for the permission Statuses to complete a visit and select the required outcome types.
-
Click Save.
Skill Scan Improvements
Skill Scan Scoring Notes
Skill Scans can now include the option to add notes for each score. To enable this for a module:
-
Go to Browse Modules on the sidebar.
-
Search for the required module, then click edit at the end of the row.
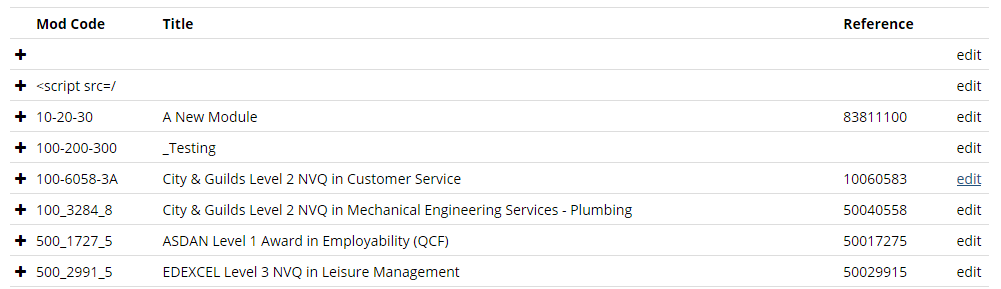
These instructions assume the module has already been enabled for Skill Scans. For information on how to do this, please see here.
-
Select the top-level module and click the Edit button.
-
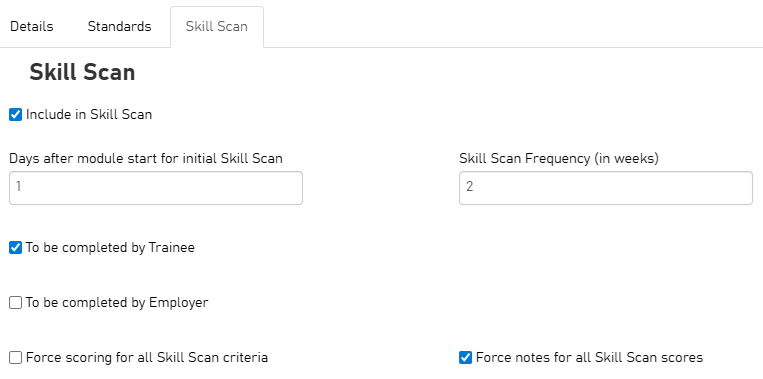
Go to the Skill Scan tab and tick the Force notes for all Skill Scan scores checkbox.
-
Click Save.
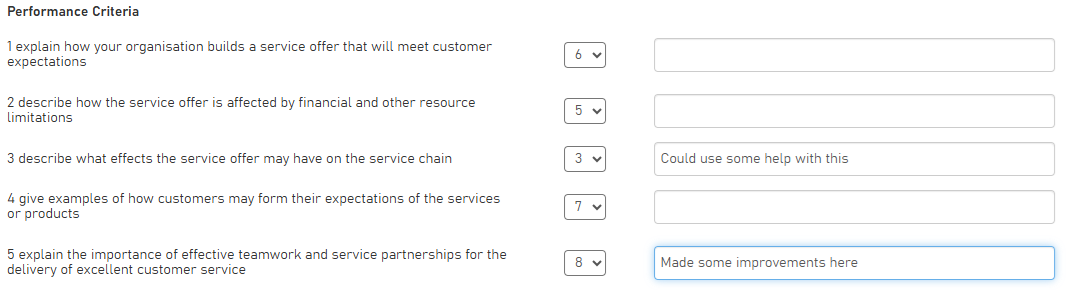
When Skill Scans for the module are entered, a notes box will now appear next to each score.
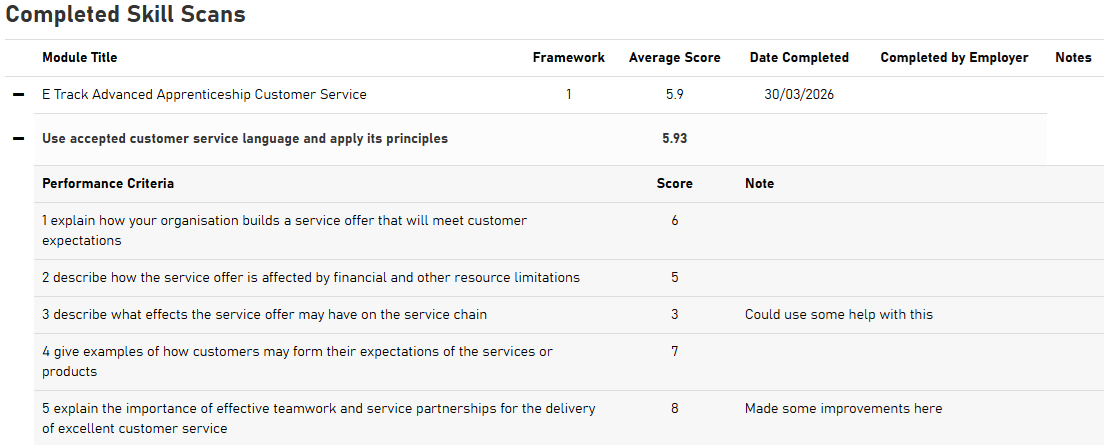
These notes will then be displayed when viewing the completed Skill Scan.
Upload Evidence
Users completing Skill Scans can now be given the option to upload evidence to support their scores. This must first be enabled in a configuration option:
-
Go to Settings on the sidebar.
-
Click the System Configuration button.
-
Go to Learner Login on the left (under the Maytas Hub Online header).
-
Locate the Skill Scan section on the right.
-
Tick the box for the permission Allow learners to upload supporting files for a Skill Scan and ensure the toggle button is set to ON.
-
Click Save.
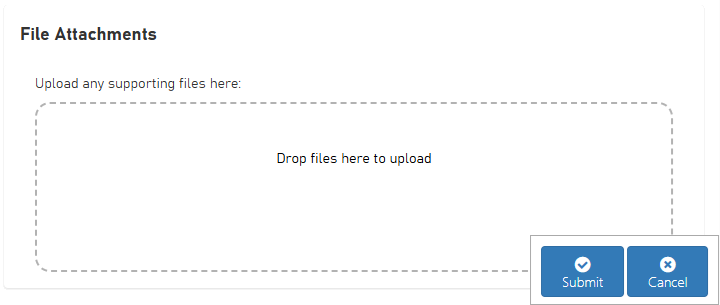
When a user enters a Skill Scan, they will now be presented with a File Attachments section at the bottom of the screen where they can drag and drop files to upload.
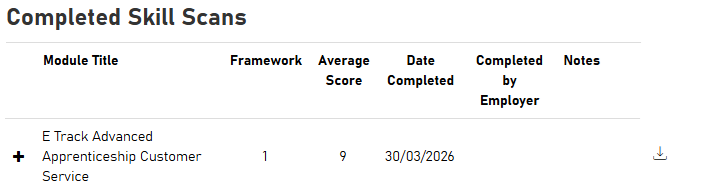
When an assessor views the Skill Scan tab for a learner, any Skill Scans with files associated with them will now have a download button  at the end of the row. Click the button to download the files.
Application Form Validation Error / Warning List
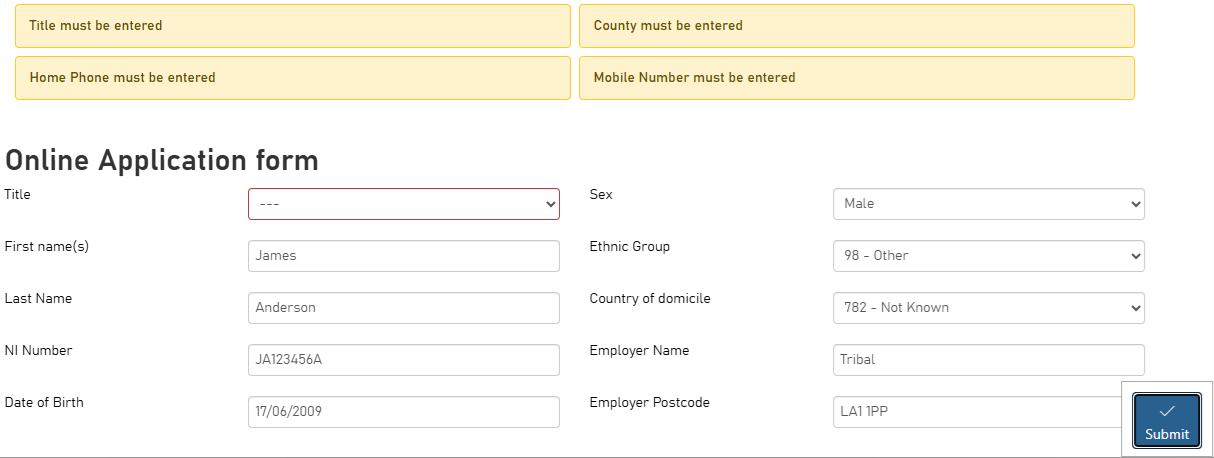
A configuration option is available to make any validation errors or warnings for application forms appear at the top of the page, rather than as pop-up messages.
-
Go to Settings on the sidebar.
-
Click the System Configuration button.
-
Go to Admin on the left (under the Maytas Hub Online header).
-
Locate the Online Applications section on the right.
-
Tick the box for the permission App Form List Errors and ensure the toggle button is set to ON.
-
Click Save.
Validation messages will now display at the top of the application form. Clicking a message will focus the relevant field so you can quickly see what needs addressing (note that this only works if the field is visible on screen, e.g. not hidden in a collapsed section of the form).
Course Attendance Improvements
The Course Attendance screen has been improved in several ways:
-
User interface improvements
-
Configurable late attendance statuses
-
Notes for late attendance statuses
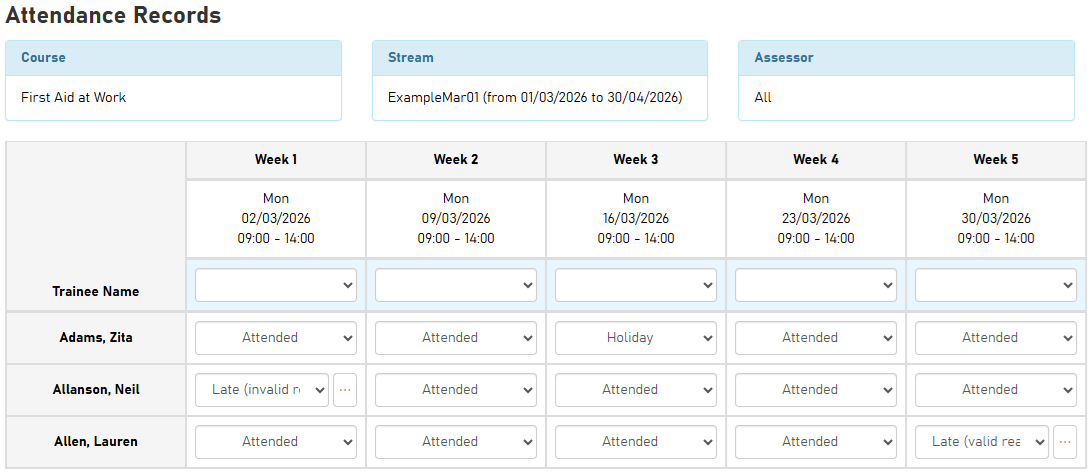
A new configuration option is available which allows you to specify one or more attendance statuses as late, which will enable the new notes functionality for late statuses:
-
Go to Settings on the sidebar.
-
Click the System Configuration button.
-
Go to Courses on the left (under the Maytas 5 header).
-
Tick the box for the permission Late statuses and select the attendance statuses you wish to designate as late.

-
Click Save.
When you select one of the late statuses on the Course Attendances screen, a window will appear where you can enter the number of minutes the learner was late and the reason they were late.
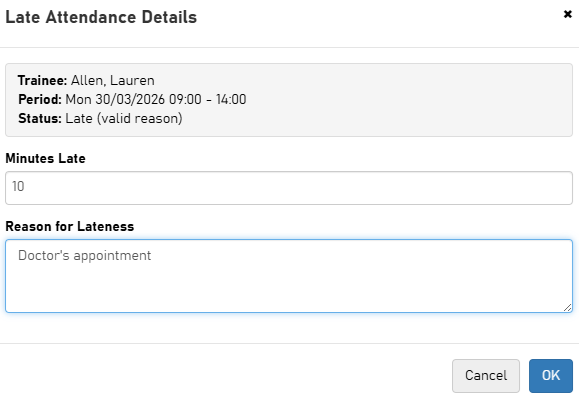
This can be edited later by clicking the  button at the far right of the entry, which will display the details window again.

Module Filter in Visits Learning Plan
When editing a visit, the Learning Plan tab now has a module dropdown box that will filter the plan by the selected module.